
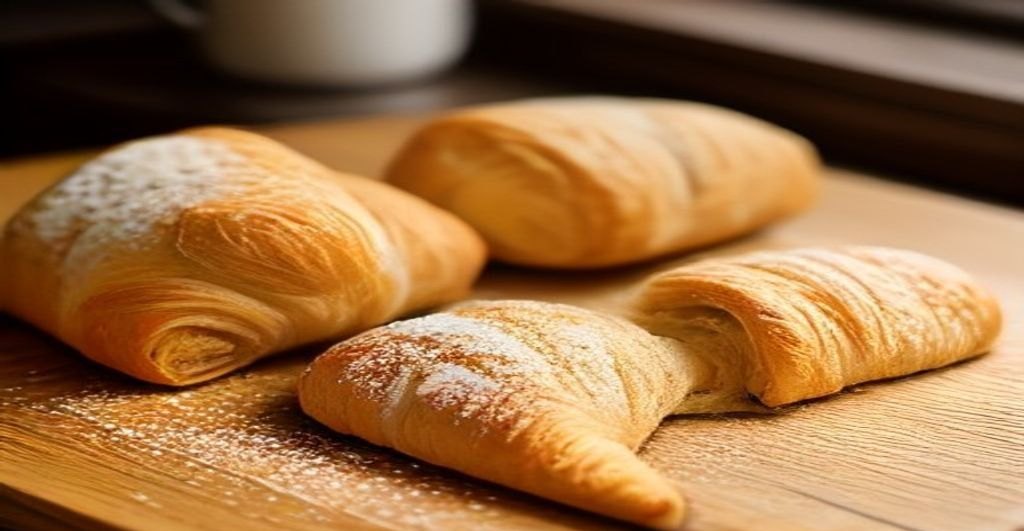
The Anatomy of a Failed Croissant (And Why Your Layers Melted)
You pull your pan from the oven, expecting a towering crown of translucent, web-like honeycombs. Instead, you find dense, greasy rolls with solid pools of butter pooled at the bottom of the tray. Hours of precise measuring, chilling, and turning have resulted in an expensive, buttery brick.
This happens because you fought the physics of dairy. When your butter block encounters ambient kitchen heat, it hits the average butter melt threshold of 35°C (95°F) far too early. Without rigorous thermal management, that pristine structural water turns to steam, leaks out of the dough, and leaves behind collapsed, fused strata. You followed standard baking instructions, trusted your refrigerator, and still lost your lamination to premature fat liquefaction.
Here's the catch: traditional home-kitchen methods ignore the absolute necessity of maintaining dough elasticity and fat plasticity simultaneously.
To fix this once and for all, we bypass guesswork entirely. We control ambient humidity, monitor internal dough temperatures down to the degree, and lock the butter block in place before it can bleed into the dough. Let’s dissect the mechanical failures of your past batches so you can engineer architectural perfection on your very next roll.
The Scientific Foundation: Flour Chemistry and The American Butter Crisis
If you want professional lamination, you cannot bake croissants with random pantry staples. Success starts down at the molecular level, balancing protein chains against saturated dairy fats.
Let's look at the numbers:
| Ingredient Component | French Benchmark | American Standard | Performance Impact on Dough |
|---|---|---|---|
| Primary Flour | T55 (11% – 11.5% protein) | All-Purpose (10% – 11% protein) | T55 provides optimal gluten extensibility without excessive toughness. |
| Heavy-Duty Flour | T65 (12% – 13% protein) | Bread Flour (12.7% protein) | Used by professionals for maximum structural lift in large-scale production. |
| Butter Fat Content | 82% – 84% | 80% (Mandated by USDA) | European butter melts slower and creates thinner, distinct lipid sheets. |
| Butter Water Content | 14% – 16% | 18% – 20% | Excess water in American butter steams inside the layers, dissolving your crumb structure. |
When working with standard American supermarket butter, that extra two percent of water spells disaster for your lamination. It turns to steam during the bake, prematurely melting your butter block and gluing your delicate layers together into a dense, soggy interior.
To fix this deficit without importing expensive Normandy butter, you must manually drive out excess moisture. Weigh your American butter, slice it thinly, and press it firmly between dry paper towels to extract the surplus water before pounding it into your beurrage block. Combine this moisture control with high-extraction French T55 flour, and you finally possess the chemical foundation required for towering, translucent honeycombs.
Engineered Détrempe: Mixing and Gluten Management Without Ruining Layers
Can you use a stand mixer with a dough hook for the détrempe, or does machine-kneading develop too much gluten? The short answer is yes, you can use a machine—provided you understand that a croissant base is not a loaf of bread.
Many home bakers fear machine-kneading will overdevelop the protein network, resulting in a rubbery dough that resists rolling. However, hand-kneading introduces too much body heat. The goal is a smooth, extensible dough with minimal elasticity. We rely on a low-shear, short-duration mix using a paddle attachment or a hook on low speed, stopping the moment the dough pulls away from the bowl.
You must monitor your metrics closely. Aim for a détrempe final temperature target of 20°C (68°F). If friction drives the thermal reading past 22°C, your butter will soften prematurely during subsequent laminations.
Test your structural progress using the gluten window-pane test metrics. Stretch a walnut-sized piece of dough gently between your oiled fingers. You want a translucent membrane that tears only when you see light through it, featuring a slight resistance and a ragged edge rather than a clean, stretchy bread-dough snap. If the membrane is too tight, your croissant layers will shrink back during sheeting. If it is too slack, the structure collapses and butter leaks out.
Why does this matter? Because gluten is the scaffolding that traps steam during the final bake. Without controlled development, your honeycombs deflate before the structure sets.
Climate Control and Millimeter Precision: The Lamination Blueprint
The good news? You can completely eliminate butter blow-outs by replacing guesswork with strict environmental and geometric parameters. Master laminators do not rely on intuition; they control variables.
Your workspace temperature must stay strictly between 16°C and 18°C (60°F to 64°F). If your kitchen trends warmer, chill your rolling pin, marble slab, and dough between every single operation.
Execute your turns using the following blueprint:
Step 1: Shape the Envelopment Core
- Cast your chilled European-style butter into a precise 15cm x 15cm square using parchment paper guides.
- Encase this block inside your detrempe dough, sealing the edges tightly to trap air.
Step 2: Roll to the Exact Thickness
- Dust your station lightly with flour. Apply even downward pressure with your rolling pin before pushing forward.
- Roll the laminated dough until it reaches a uniform target thickness of 6mm to 8mm per turn, lengthening the rectangle without tearing the surface.
- Brush away all excess flour with a soft pastry brush.
Step 3: Execute Controlled Thermal Rests
- Fold the dough into thirds (for a single letter fold) and immediately wrap it in plastic.
- Place the package in the refrigerator for a 45-minute minimum rest duration between turns to relax the gluten matrix and solidify the butter layers.
- Verify firmness by pressing a thumb gently into the dough; it should offer slight resistance without cracking the interior butter sheets.
Shaping, Freezing, and Proofing: The Complete Lifecycle
Pay close attention to this next part: the structural integrity of your bake relies entirely on precision handling during final shaping and thermal arrest. Cut your laminated sheet into isosceles triangles measuring precisely 9cm at the base and 20cm in height. Stretch the base gently, roll forward with consistent tension, and tuck the trailing tip underneath to anchor the pastry.
If you bake immediately, your layers risk blowing out. Instead, master the commercial workflow: freezing unbaked shaped croissants. Place your shaped pastries on a sheet pan and flash-freeze them at -18°C (0°F) for precisely two hours until solid, then transfer them to airtight vacuum-sealed bags to prevent freezer burn and moisture migration.
When you are ready to bake from frozen, bypass the shortcut of room-temperature thawing, which causes condensation to melt the exterior butter sheets. Transfer the frozen croissants directly to your proofing chamber set to the sweet spot of 24°C (75°F) at 75% humidity. This extended 3-to-4-hour thermal recovery allows the interior yeast to activate while keeping the butter solid in its crystalline state. If your proofing environment exceeds 27°C (80°F), the butter will liquefy and leak out before the gluten network sets, ruining your honeycomb crumb.
Master Troubleshooting: Fixing Blow-Outs and Fused Layers
Why do my croissant layers fuse together during baking even though I chilled the dough?
Layer fusion occurs when butter melts into the surrounding dough matrix before water vaporization can force the layers apart. Even if your dough felt cold to the touch, internal butter temperature may have exceeded the critical 20°C threshold during rolling, causing the fat sheets to soften and merge. Alternatively, your initial oven oven-spring phase lacked sufficient heat. You must load your pastries into a baking deck preheated to a vigorous 200°C (392°F) dropping to 180°C (356°F) after the first 10 minutes, forcing immediate steam generation that locks the honeycomb structure in place.
How do I salvage a laminated dough when the butter breaks through the exterior during sheeting?
When butter punctures the dough encasement, stop rolling immediately. A breach exposes direct fat to your rolling pin, guaranteeing greasy, uneven layers. Scrape away any loose exterior butter, dust the exposed spot heavily with flour to absorb residual moisture, and return the dough to the refrigerator for 45 minutes to reset the fat crystals. If the tear is severe, execute an emergency patch protocol using scrap dough and cold butter dust: roll a thin thumbnail-sized piece of reserved dough scrap, dust the interior with flour-coated butter shavings, place it directly over the rupture, and gently press it down before proceeding with your turns.
Before you bake, keep this in mind: laminating pastry leaves zero margin for error regarding ambient temperature. Keep your workspace below 20°C (68°F), and do not hesitate to return your dough to the freezer for ten minutes whenever the butter begins to sweat through the gluten layers.
The Final Bake and Quality Audit
, your thermal management culminates in the oven chamber. Bake your proofed dough at 190°C (375°F) for a total bake time of 18–22 minutes. Watch for deep mahogany crusts and sound structural integrity before extracting your tray.
Never guess when your pastries are done. Insert a digital probe into the thickest part of the roll: you must hit an internal core temperature test of 98°C (208°F) to ensure all residual moisture has evaporated and the internal honeycomb structure has fully set.
Now, perform your post-bake audit. Slice a cooled croissant down its vertical axis. Look past the exterior shatter. You want to see an elongated, web-like honeycomb crumb featuring translucent, paper-thin structural walls with zero dense streaks at the base. If the interior resembles standard sandwich bread, your butter melted prematurely during lamination or your proofing chamber exceeded 27°C (80°F). Bake your next batch colder, respect your resting intervals, and let the physics of dairy work in your favor.
⚠️ Editorial & Health Disclaimer: The information presented in this guide is for informational and educational purposes only and does not constitute personalized medical advice. Dietary supplements are not evaluated by the FDA to diagnose, treat, cure, or prevent any disease. Always consult a qualified physician or licensed healthcare provider before introducing any new dietary supplement, especially if you have pre-existing medical conditions or take prescription medications.