
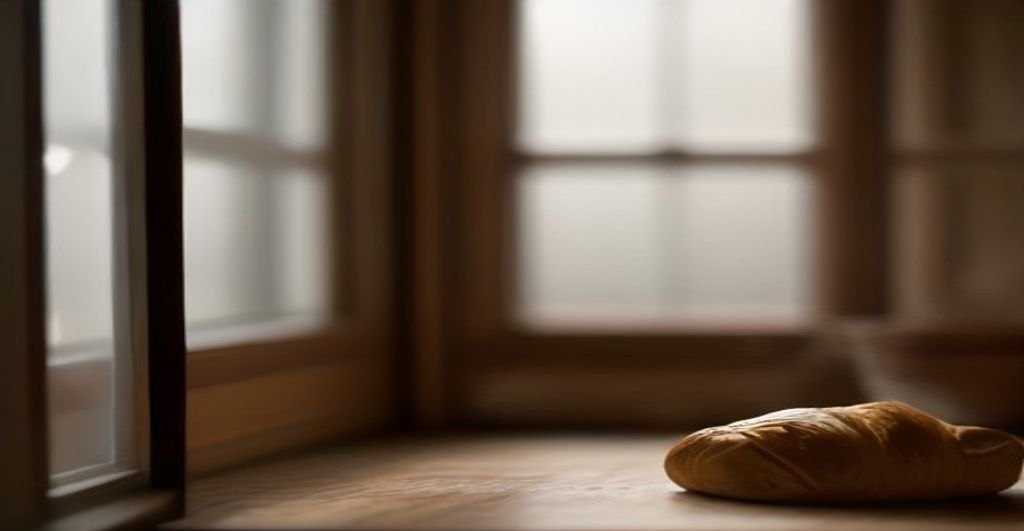
Why Your Baking Photos Look Flat (And How Physics Fixes It)
You spend hours perfecting a laminated croissant or a rich, eggless mava cake in your Mumbai or Bengaluru kitchen, only for the final photograph to look washed out, muddy, and entirely unappetizing.
You blame your smartphone camera or your styling skills. You buy expensive props, adjust your phone’s exposure slider, and still, your bakes lack the glossy, dimensional depth seen in professional cookbooks. The agitation grows when you realize those wasted hours baking and shooting are failing to convert customers on your Zomato or Instagram food page.
Here is the uncomfortable truth: standard ceiling lights operate at 3000K-4000K with high green-magenta tint variance, ruining pastry color profiles. Ambient room lighting bombards your bakes from every possible angle, washing out the delicate golden-brown crusts and multi-layered textures you worked so hard to build.
Physics fixes this. By manipulating light direction, controlling color temperature, and utilizing inverse-square laws, you transform flat, amateur snapshots into high-converting culinary assets.
The Physics of Baking Surfaces: Glossy, Matte, and Powdery
Let us look at the science:
When you photograph high-contrast bakes—such as a dusting of pure white icing sugar over a dark, dense chocolate walnut brownie—your camera sensor faces a severe high dynamic range (HDR) trap. The bright white powder reflects direct, unyielding light straight back into your lens, blowing out your highlights, while the deep cocoa shadows plunge into total darkness.
You cannot fix this with a standard smartphone exposure slider without ruining the midtones of your creation. The issue lies in surface physics. Glossy mirror glazes on celebration cakes act like curved mirrors, creating harsh specular hot-spots that catch every stray beam from your kitchen window or overhead tube light. Matte surfaces, like a rustic whole-wheat artisan sourdough crust, scatter light diffusely, forgiving errors but risking a flat, lifeless frame if unmanaged.
To capture the true dimension of your baked goods without blinding reflections, you must control the angle of incidence using large-surface-area modifiers. Bouncing your primary light source through a 90 cm or larger diffusion panel—or utilizing a large softbox positioned at a 45-degree angle—vastly enlarges the virtual light source. This simple adjustment wraps soft, wrapping illumination around the contours of a glossy ganache, diffusing the specular highlight into a controlled, professional gradient rather than a glaring white dot.
When shooting powdery textures alongside dark backgrounds, underexpose the ambient ambient light by 0.3 to 0.7 stops. This preserves the delicate crystalline detail of the powdered sugar without sacrificing the rich texture of the dark chocolate base, keeping your culinary portfolio compliant with the visual quality expected by top-tier food aggregators and commercial clients across India.
Continuous LED Lights vs. Natural Window Light in Indian Homes
Capturing professional food photography in Indian apartments requires managing intense monsoon clouds, harsh direct tropical sun, and varying architectural layouts. You need a lighting system that adapts to your shooting schedule without compromising the golden tones of your fresh bakes.
To determine the ideal setup for your studio or home kitchen, we compared the two primary lighting choices available in the local market, evaluating performance, power, and cost in INR (₹).
| Feature / Parameter | Natural Window Light | Continuous LED Lights (e.g., Godox SL60W / SL150II) |
|---|---|---|
| Availability & Control | Highly inconsistent; subject to daylight hours, heavy monsoon overcast, and window orientation. | 100% reliable; available 24/7 regardless of weather or external conditions. |
| Output & Lumens | Variable lux levels; depends entirely on outdoor weather conditions and glass tinting. | Stable, high output; delivers consistent brightness measured precisely in footcandles or lux. |
| Color Temperature (Kelvin) | Fluctuates from 4000K (hazy morning) to 6500K+ (harsh noon blue light). | Locked strictly at the daylight color balance standard of 5600K for true-to-life crumb structures. |
| Investment Cost (₹) | Free (uses existing architecture), though modifying curtains or diffusers costs ₹500 to ₹2,000. | Mid-to-high equipment cost; reliable units range from ₹12,000 to ₹25,000. |
Wondering which setup fits your budget? If you shoot primarily during daylight hours near a north-facing window, natural light costs nothing. However, commercial bakers fulfilling orders for Zomato or running Instagram storefronts rely on continuous LEDs to maintain exact color consistency across every batch of eggless mava cakes or laminated pastries.
The Geometry of Light: 45-Degree Side-Backlighting for Crumb Texture
Flat, lifeless bread photography usually stems from a fundamental error: placing your light source directly to the side at a 90-degree angle, or worse, straight overhead. This flattens the porous architecture of your sourdough or eggless whole-wheat loaf. To capture the tactile depth of an open crumb, you need a deliberate geometric shift.
Ready to set up your gear? Follow this exact blueprint:
Step 1: Position your main light source
- Place your continuous LED panel or studio strobe at a 45-degree angle to the side of your sliced bread.
- Rotate the light so it sits 45 degrees behind the subject, angled back toward the camera axis.
- Verification check: The light rays should skim diagonally across the cut surface rather than hitting it head-on, casting long, delicate shadows inside every single air pocket.
Step 2: Control the diffusion plane
- Position a 90×60 cm softbox or a translucent diffusion sheet directly between your light source and the bread.
- Keep the diffuser roughly 30 cm away from the bake to soften the shadow edges without killing the contrast needed to define the gluten strands.
- Verification check: Look through your camera viewfinder or tethered monitor; the cell walls of the crumb should pop with a sharp three-dimensional edge, while harsh highlights disappear.
Step 3: Add a bounce card for fill
- Place a white foam board or an A4 sheet of heavy cardstock on the opposite side of the subject, parallel to the light source.
- Adjust the distance of the bounce card to gently lift the shadows just enough to reveal micro-textures in denser bakes, such as an atta-based artisan loaf or a heavy multi-grain bread.
- Verification check: The shadow side should retain deep, moody contrast while still displaying visible crumb structure, avoiding a muddy black void.
Budget vs. Pro Gear Matrix: What to Buy in India
The good news? You do not need to empty your savings account or import gear from overseas to capture stunning, publication-worthy food photography for your home bakery or Instagram handle.
Whether you are shooting delicate shrikhand tarts or dense whole-wheat sourdough in a compact Delhi kitchen, the Indian market offers accessible gear scaling from DIY essentials to heavy-duty studio setups.
| Category | Budget Tier (DIY / Entry) | Professional Tier (Studio Grade) | Indian Market Benchmark |
|---|---|---|---|
| Light Modifier | Foam core sheets, white cotton bedsheets | Bowens-mount octabox, umbrella grids | Reflector boards priced at ₹500 to ₹1,500. |
| Primary Light Source | Window daylight, 50W LED house bulbs | Godox SL60W / Godox SL-150II LED | Complete softbox kit investments around ₹15,000 – ₹28,000. |
| Light Stands | Lightweight tripod adapters, basic aluminum stands | Heavy-duty steel C-stands with boom arms | Basic stands start around ₹900; C-stands cost ₹4,500+. |
| Diffusion Material | Butter paper, tracing paper, shower curtains | Professional heavy silk diffusion panels | Roll of tracing paper/butter paper under ₹300. |
Selecting the right equipment comes down to your operational scale and lighting environment. If your baking studio receives harsh, direct afternoon sun during the peak Indian summer, invest heavily in heavy-duty diffusion and continuous LED lighting to maintain absolute control over color temperature. Conversely, if you operate exclusively as a weekend home baker shooting near a north-facing window, a simple reflector board setup paired with natural light delivers high-end results at a fraction of the cost. Always source your continuous lights and modifiers from authorized domestic distributors listed on NABL-compliant platforms or trusted local camera markets in cities like Mumbai, Bengaluru, or Delhi to ensure valid warranty coverage.
Troubleshooting Baking Photography Lighting Nightmares
Why do my artificial lights create awkward, square reflections in the glaze of my cakes?
Standard rectangular softboxes create unnatural, geometric catchlights that instantly look artificial on shiny surfaces like chocolate ganache, mirror glazes, or royal icing. To fix this, switch to circular octaboxes or parabolic modifiers. They mimic the natural, round look of window light, producing organic reflections that make your bakes look professionally shot.
How do I photograph dark artisanal sourdough or multigrain loaves without losing the crumb detail?
Crusts easily clip to pure black while soft crumb interiors blow out to pure white under harsh studio lamps. Avoid single exposures. Use exposure bracketing to capture three to five distinct exposures (under-exposed for the crust highlights, balanced for the crumb, and over-exposed for shadow detail). Blend these plates during post-processing to reveal both the crackly crust texture and the open, airy crumb structure required for commercial bakery listings.
My kitchen has zero natural light during Mumbai or Bengaluru monsoon evenings. How can I fake bright daylight at night?
Position a daylight-balanced LED continuous light (at least 5600K) outside your kitchen window, pointing inward through a large sheet of white diffusion material (such as ripstop nylon). This replicates the angle and softness of daytime sun, bypassing the flat, yellow color cast of indoor ceiling lights while maintaining consistent Kelvin temperatures for your commercial product photos.
How can I stop my buttercreams and frostings from melting while I adjust studio lights?
High-wattage continuous tungsten bulbs generate intense heat that ruins delicate dairy or plant-based buttercreams within minutes. Upgrade to cool-running LED panels or COB (Chip-on-Board) lights with silent cooling fans. If you must use older hot lights, style your bake with a stand-in prop, set your camera framing, and only bring the actual pastry into the hot zone for the final shutter release.
Before you wrap up your shoot, keep these fixes in mind: Always check your camera's live histogram for clipped highlights on dusted powdered sugar, keep a white foam board handy to bounce rogue shadows in tight corners, and verify your white balance against a grey card before editing batches for FSSAI compliance labels or online menus.
